|
|
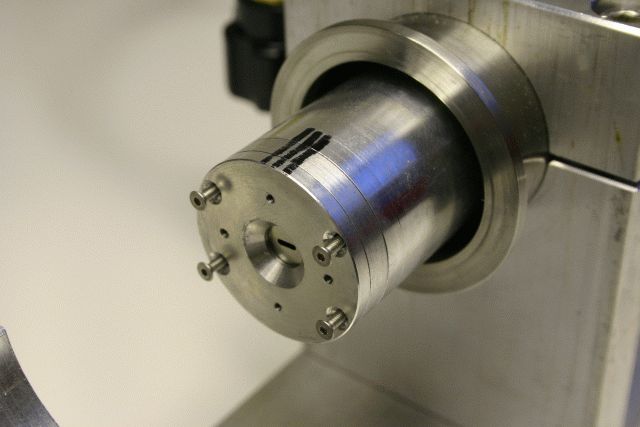
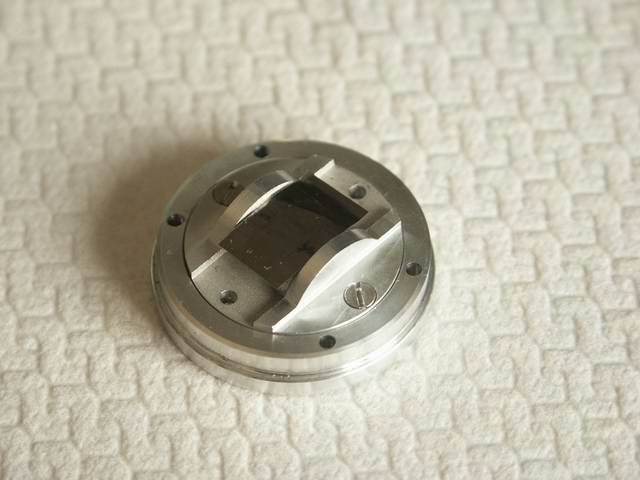
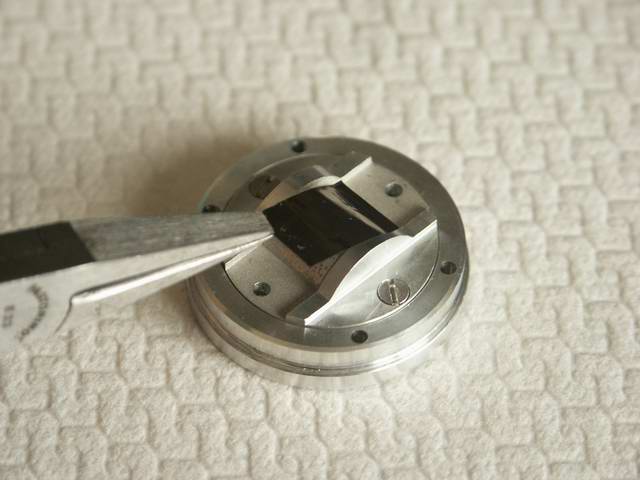
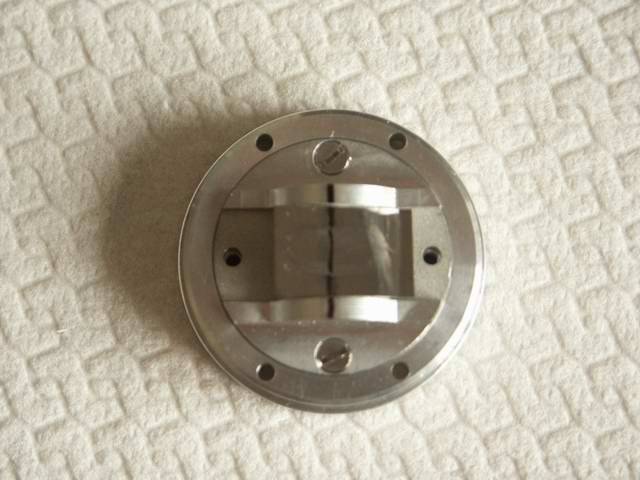
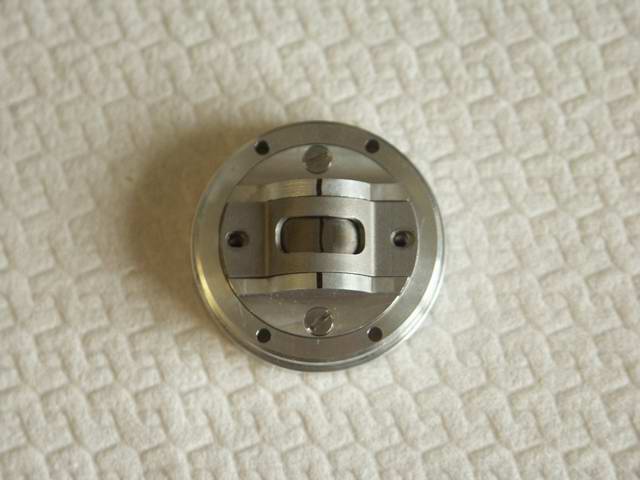
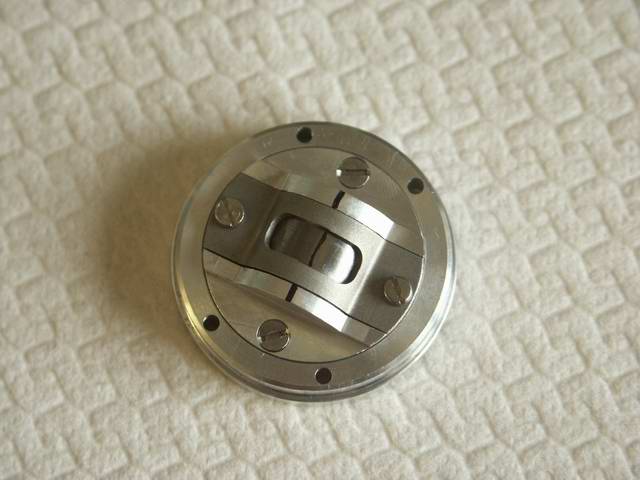
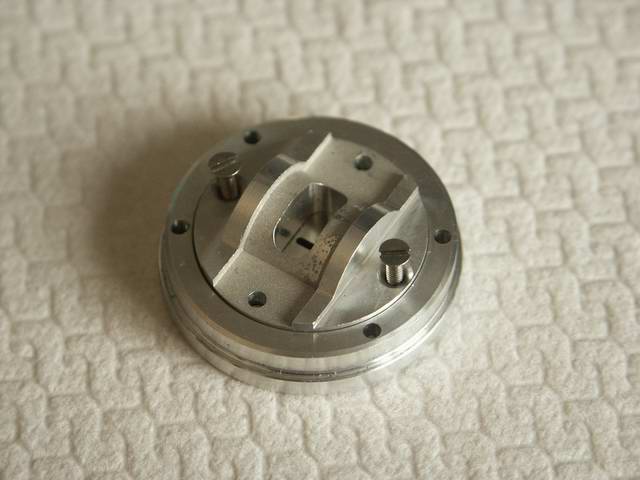
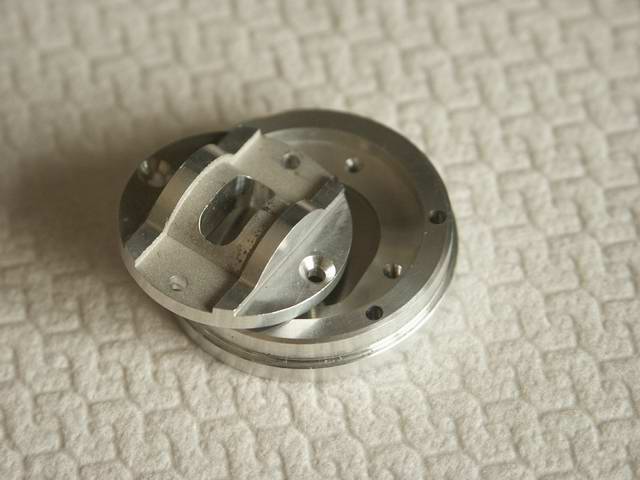
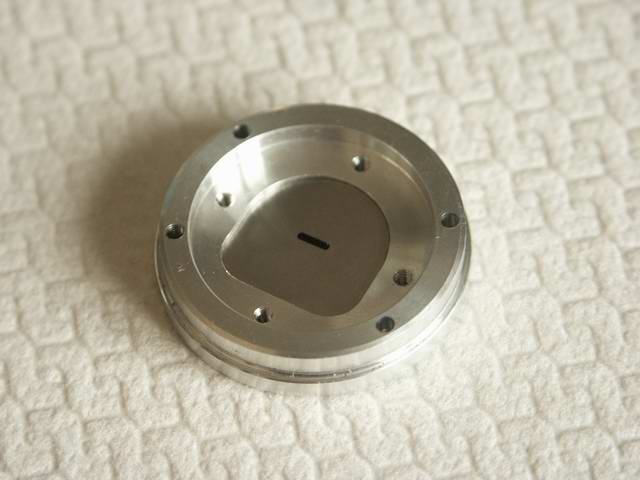
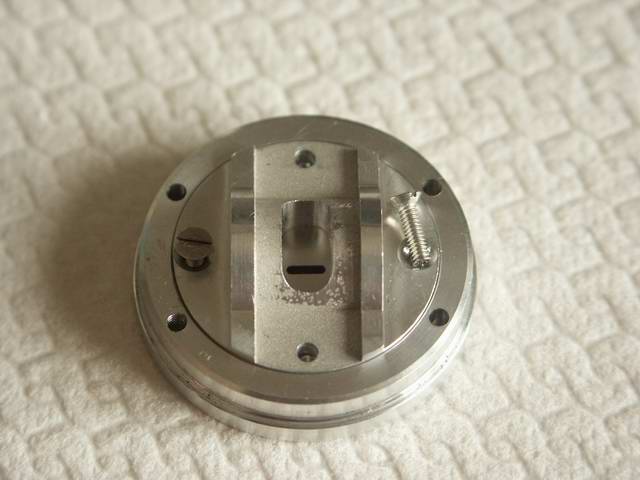
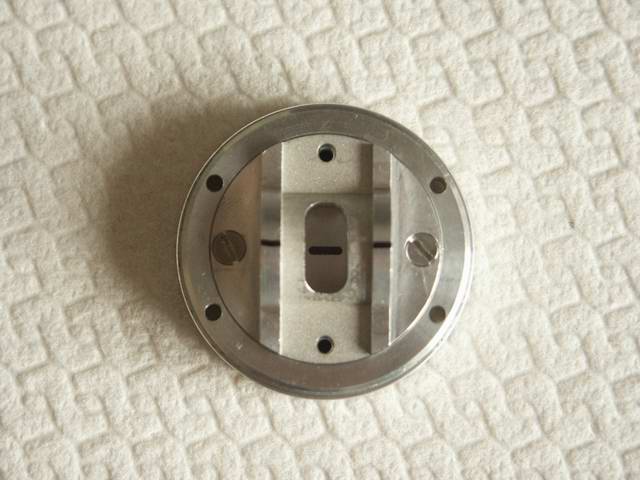
How to replace the beryllium foil or the pinhole |

|
Home | Description | Electronic layout | User manual | Manuale | Info | Images | Results | History | Logbooks | Bibliography | Links |
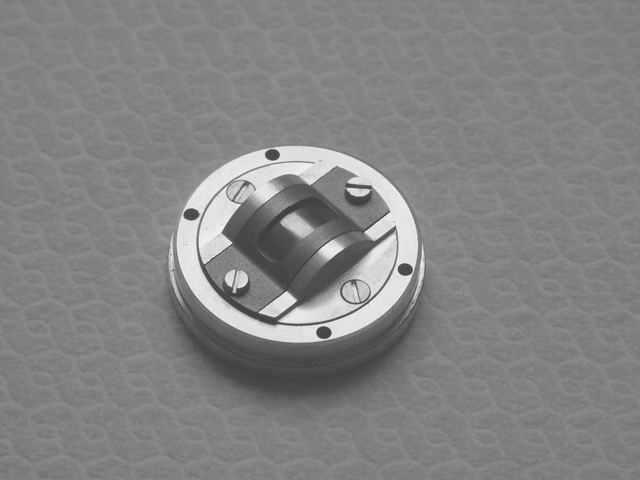
| Beryllium foil | ||||||||||||||||||||||||||
|
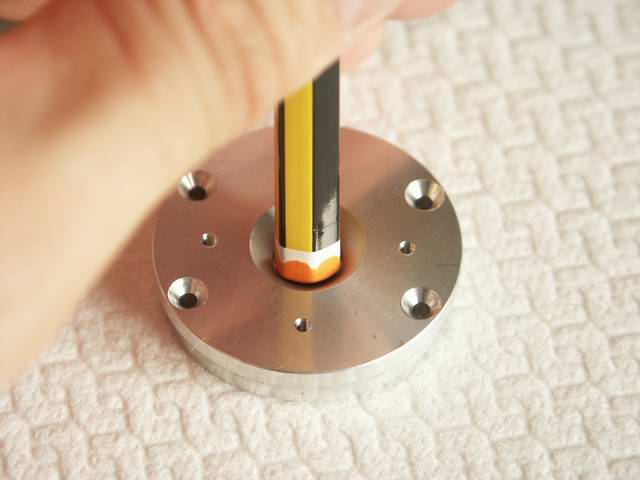
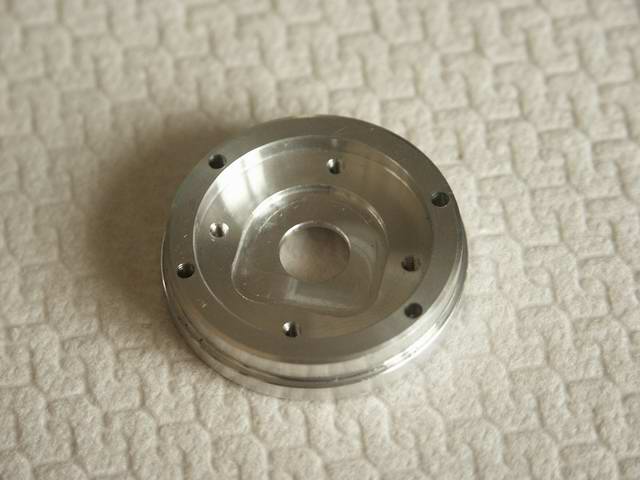
List of actions:
|
||||||||||||||||||||||||||
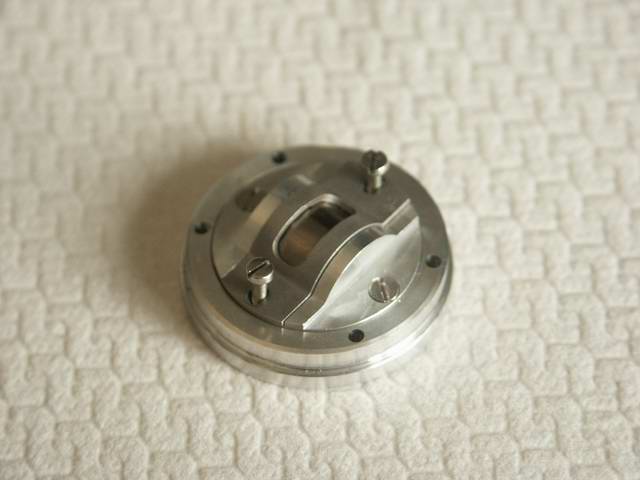
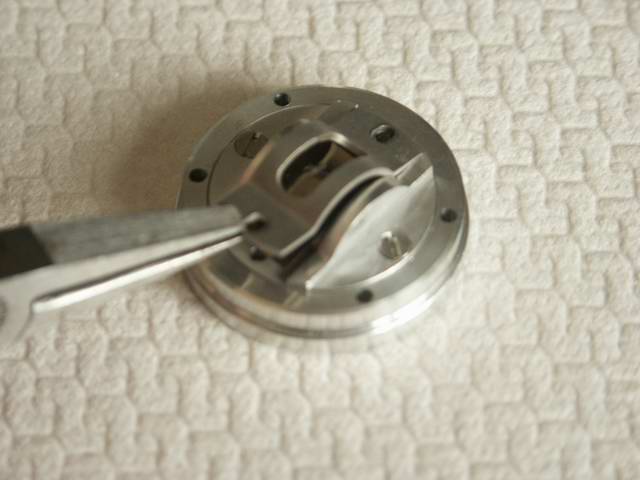
| Pinhole | ||||||||||||||||||||||||||
|
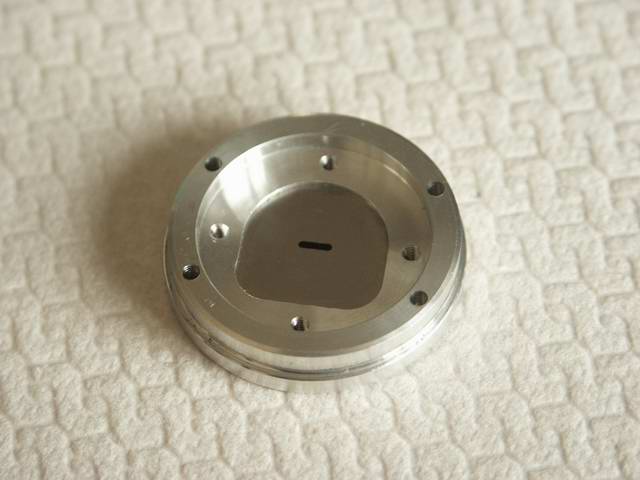
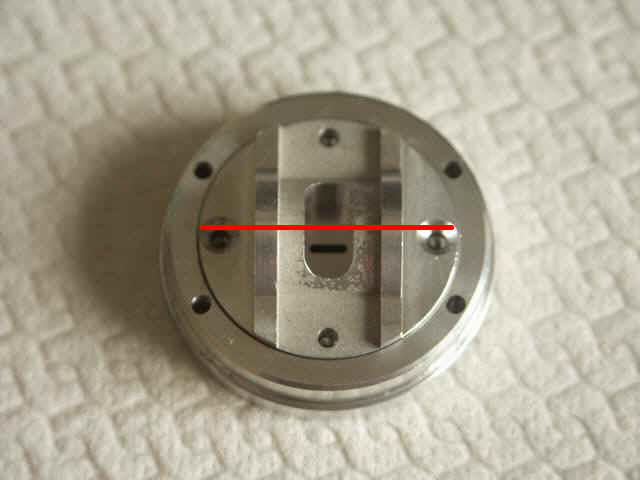
List of actions:
|
|
Home | Description | Electronic layout | User manual | Manuale | Info | Images | Results | History | Logbooks | Bibliography | Links |